Review · No. 2 · Tower Rush
Rebar Lace ledger runs: threading rebar through formwork rings
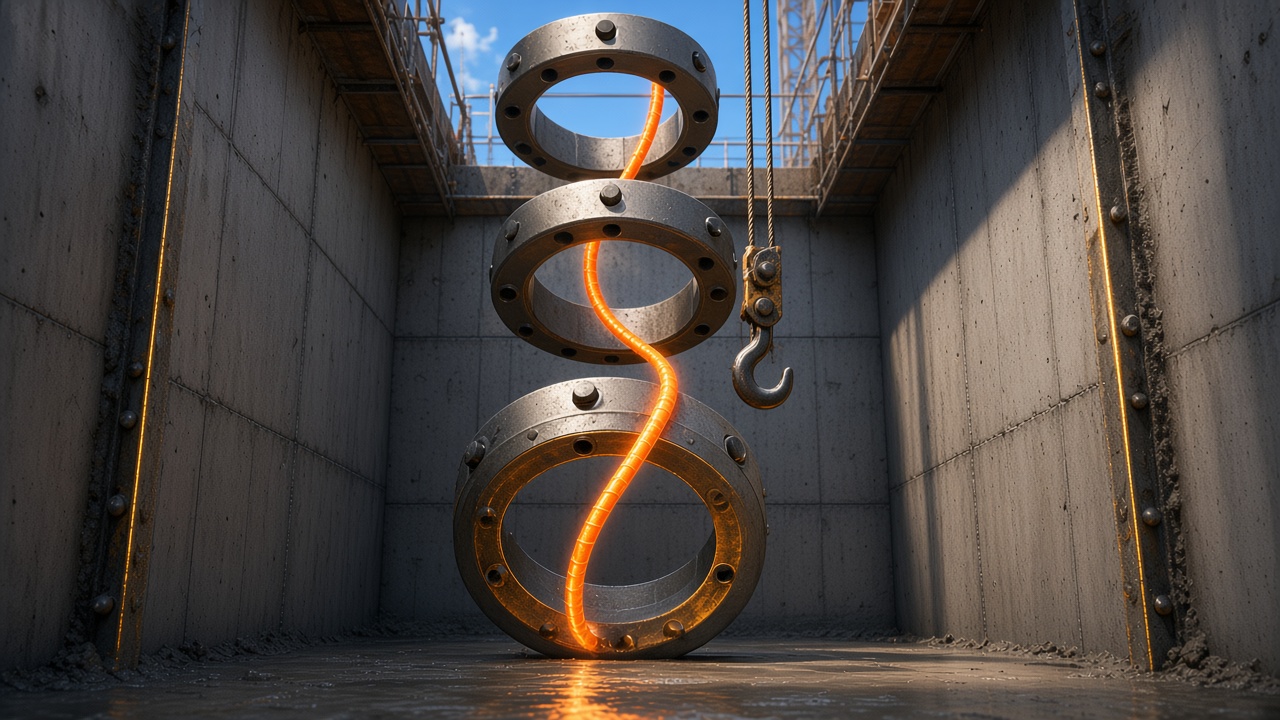
Rebar Lace is the more deliberate tower build on the shortlist. Ledger runs here are about a continuous thread, not a series of launches. The review below follows seven steps from the first ring to the sealed shaft.
Step 1 — Open, Close, and the tip
Play at /play/rebar-lace/. Confirm the Close link in the top-left before the first lace. The camera looks up a formwork shaft. A glowing rod rises on its own; the player steers only the tip on the horizontal axis. That single fact separates this build from Pipe Boost next to it on the ranking.
Mouse or finger drag moves the tip with inertia. A and D (or the arrow keys) lean. Space spends grip on a short upward boost. There is no store page behind the build, so the card shows no rating and no install counter — checked 20 November 2026.
Step 2 — Lace the first safe rings
The opening five seconds place wide, centred rings and keep the concrete far below. The desk uses this window to confirm input honesty across devices. A centred lace flashes LACED and pays the base score. Touching the form wall ends the run with a CLANG that is impossible to misread.
Early ledger runs should ignore gold. The edge rings are narrower and sit near crane hooks. Learning the tip's inertia on centre rings first keeps the second-minute reading clean.
Step 3 — Plan the thread, not the tap
Because the rod climbs continuously, the skill is path planning. Offset rings require an early lean; a late correction scrapes the form. Near-misses on the rim pay a CLOSE bonus when the tip passes close without contact. Long clean threads raise the combo; any hit burns it.
This is why Rebar Lace placed second rather than first. Its failures are readable, but they ask for more patience than Pipe Boost. A player who wants short, sharp ends will prefer the pipe launcher. A player who wants a woven line will stay here.
Step 4 — Gold rings and grip
Gold rings pay triple and refill grip. They sit at the pour edge, often with hooks nearby. Grip is the build's second resource: boosts cost it, and an empty meter before a bad line is a common end. The desk logs grip mismanagement separately from form hits when weighing readable failure.
Spending boost as a habit is the fastest way to a short ledger run. Spending it to correct a line that would otherwise clang is the intended use.
Step 5 — Events in the shaft
Five timed waves showed up in the bench sessions: Gold Pour (double lace scores), Wind Twist (rings drift on X), Night Flood (narrower visibility, near-miss tokens), Crane Sweep (dense hooks with more gold) and Grip Surge (brief unlimited grip with a spark trail). Waves arrive after a calm stretch and do not stack on top of each other.
Wind Twist is the event that most often separates a second-minute survivor from a dump. The tip must lead the ring, not chase it.
Step 6 — The pour never stops
Wet concrete rises from below. Fall behind and the tip is sealed. The leash tightens over a ninety-second ramp, so late rings are both narrower and closer to the pour. Unlike Pipe Boost, there is no ballistic escape upward — only a cleaner thread or a spent boost.
The bench treats a SEALED end as fully readable. It is also the fairest timer on the shortlist: the pour is always visible.
Step 7 — Who should lace
Rebar Lace suits players who like continuous control and resource meters. Missions ask for ring counts, gold laces, combo streaks, near-misses, survival time and boost uses. Skins unlock on score gates inside the build; the desk does not present those gates as store purchases.
On a phone, boost discoverability is the one soft spot: a tap near the tip spends grip, which is easy to miss on a first session. After that, the same ledger runs transfer. Close returns here when the session is done.